Collecting website analytics is relatively easy.
Collecting interaction data that remains consistent, understandable, and useful as a website grows is much harder.
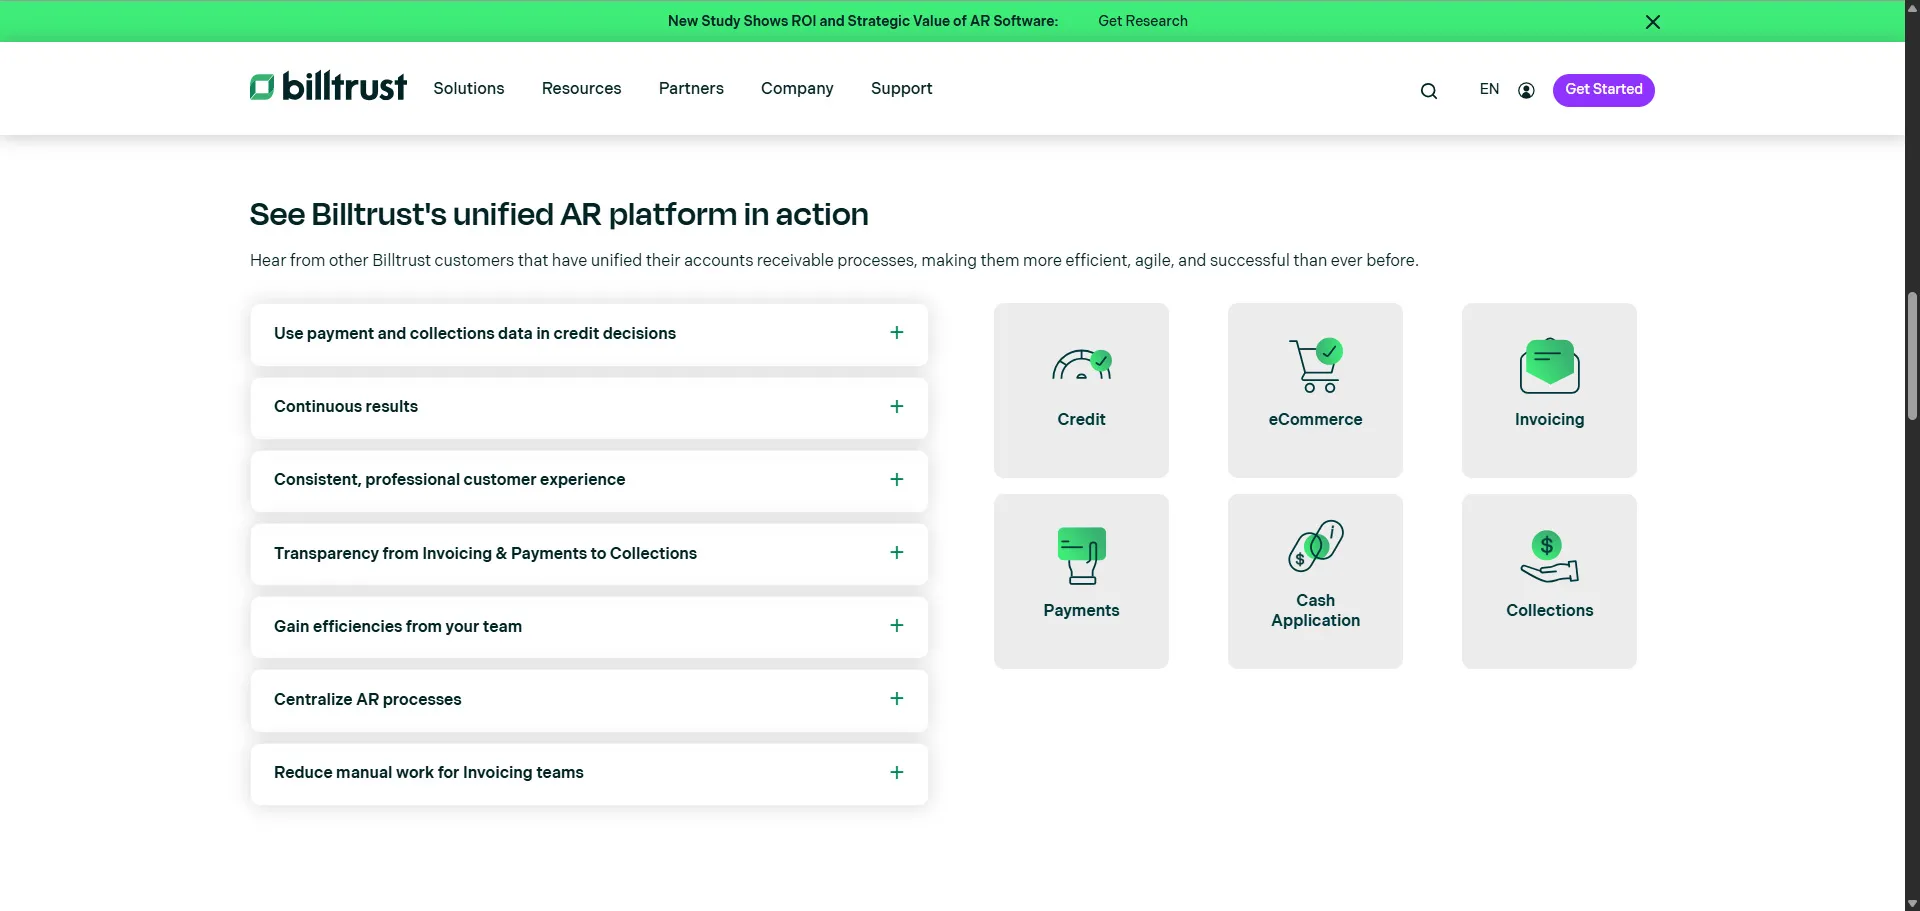
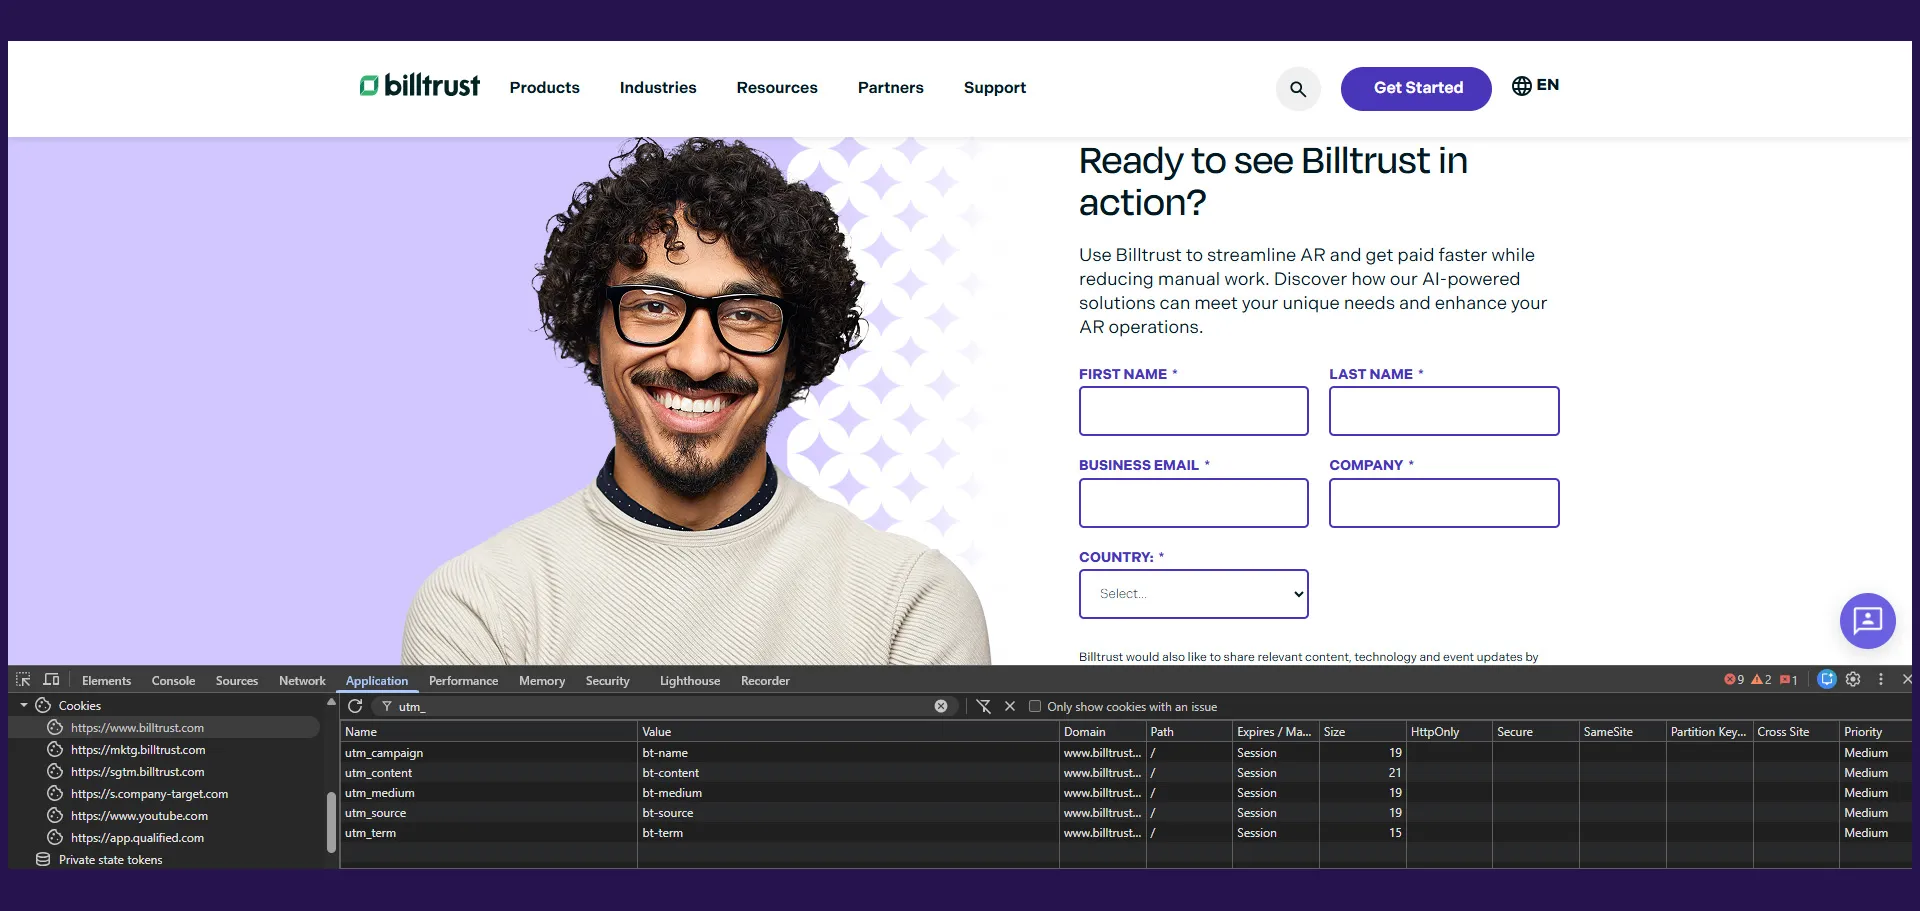
While working on an enterprise marketing website, I needed a scalable way to measure clicks on important links and calls to action across the homepage, platform pages, and eventually the rest of the site.
I wanted the implementation to answer questions such as:
- Which homepage calls to action receive the most engagement?
- Are visitors selecting the primary or secondary hero CTA?
- Which product areas generate the most interest?
- Which button positions contribute to downstream conversions?
- Are users engaging with case studies, resources, or demo requests?
Google Analytics 4 could collect these interactions, but the implementation needed more structure than a collection of page-specific click triggers.
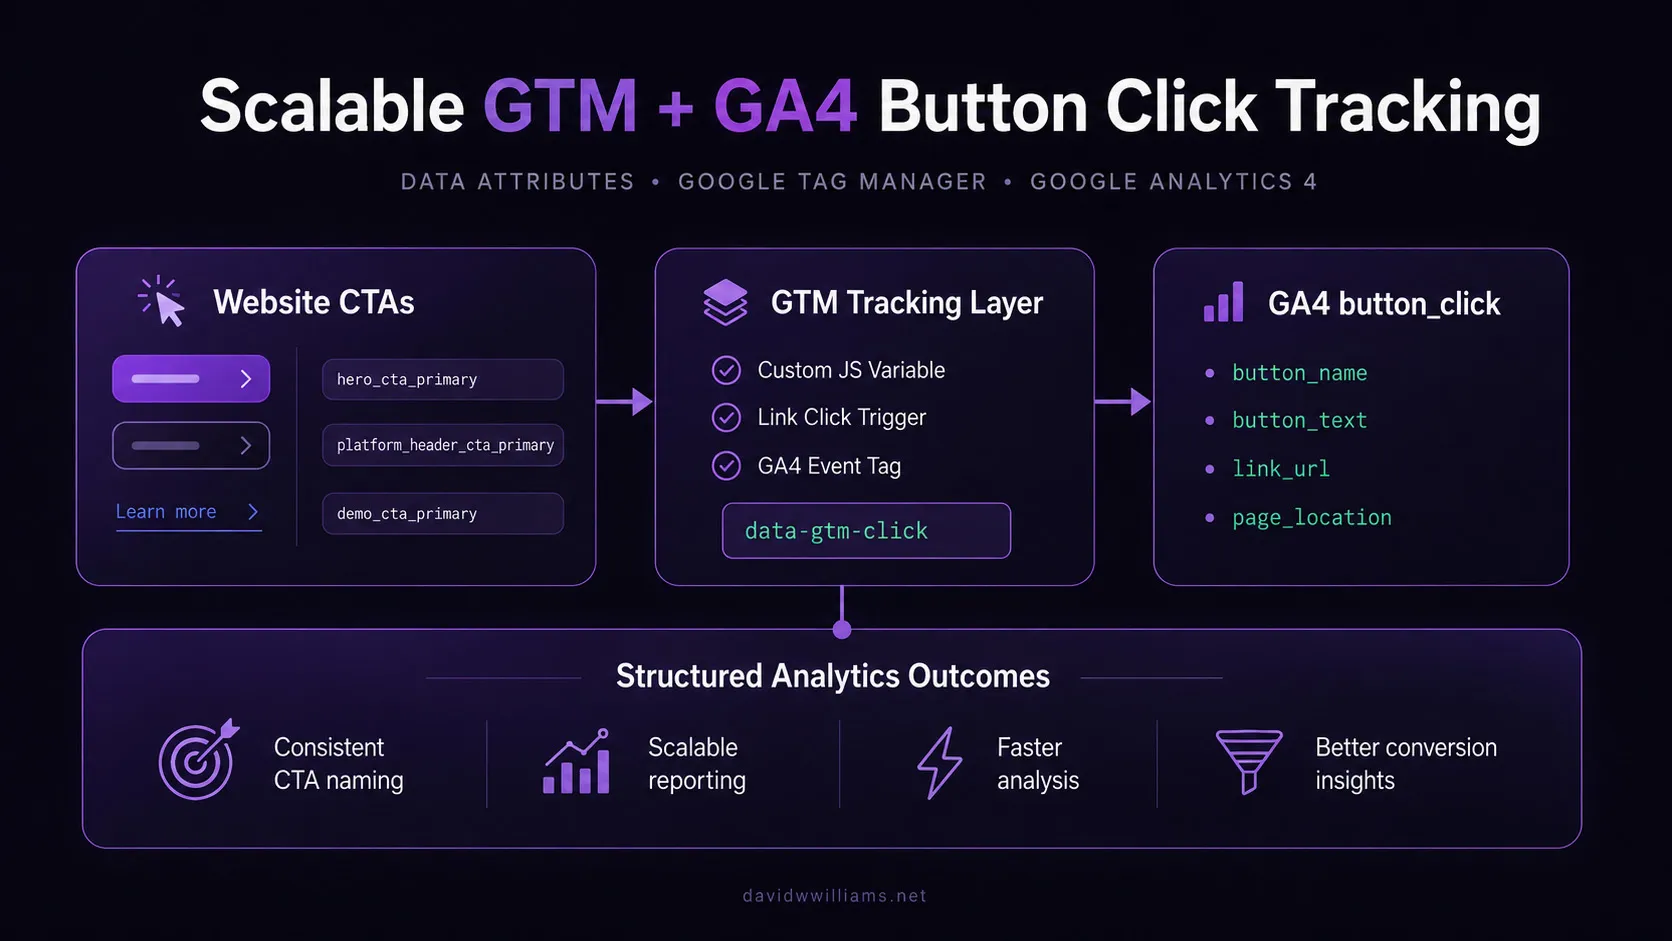
To solve this, I created a reusable button-click tracking framework using:
- HTML data attributes
- Google Tag Manager
- A Custom JavaScript variable
- A reusable link-click trigger
- A single GA4 custom event
- Event-scoped custom dimensions
The result is a standardized analytics layer that can scale across pages without creating a new GTM tag or trigger for every button.
The Problem With Page-Specific Click Tracking
A common approach to click tracking in Google Tag Manager is to create triggers based on:
- Click Text
- Click Classes
- Click ID
- Click URL
- CSS selectors
These options work, but they can become fragile on a large marketing website.
Visible button text changes frequently. A link labeled “Explore the Platform” today might become “View Our Platform” after a copy update.
CSS classes are usually intended for styling rather than analytics. They may change during a redesign, an Elementor update, or a broader frontend refactor.
URLs are not always unique to an individual placement. The same destination might be linked from the hero, navigation, product section, and footer.
For example, tracking only this destination:
https://www.billtrust.com/accounts-receivable-platformwould tell me that someone visited the platform page.
It would not tell me whether the click originated from:
- The homepage hero
- The platform overview section
- The global navigation
- A product card
- A footer CTA
I needed an identifier that described the location and purpose of the element independently of its text, styling, or destination.
Creating a Dedicated Analytics Data Attribute
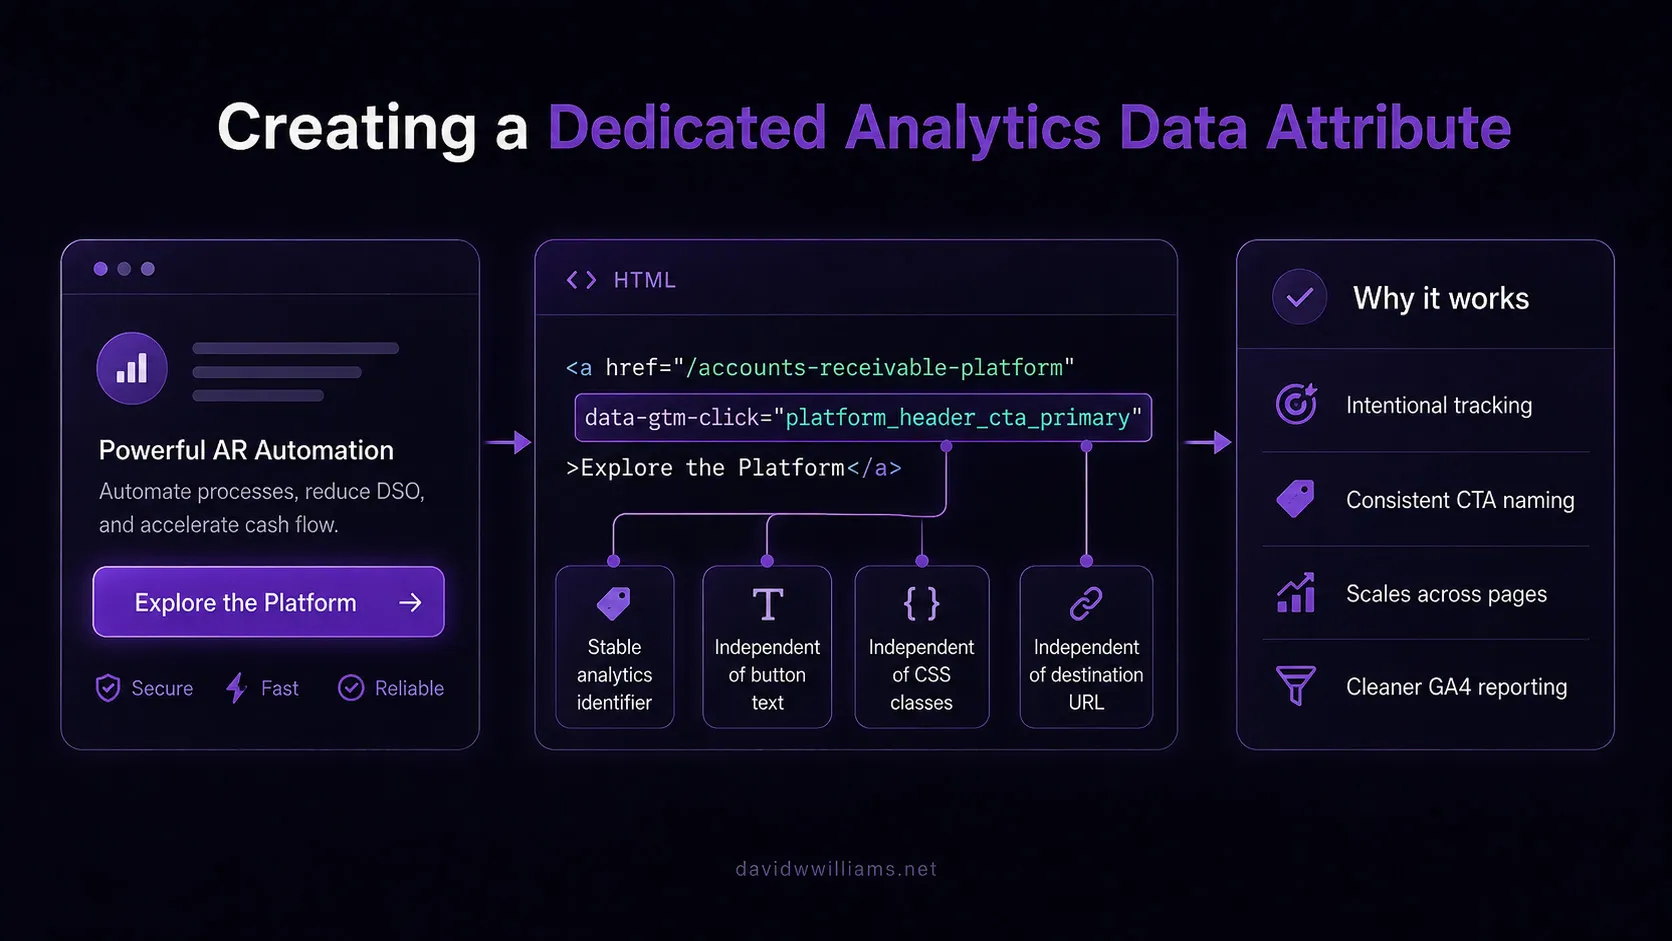
I added a custom data-gtm-click attribute to every link I wanted to measure.
For example:
<a href="/accounts-receivable-platform" data-gtm-click="platform_header_cta_primary">
  Explore the Platform
</a>
This creates a stable contract between the website and the analytics implementation.
The visible text can change.
The URL can change.
The CSS classes can change.
As long as the underlying interaction still serves the same purpose, the analytics identifier remains consistent.
The attribute also makes tracking intentional. GTM does not need to infer whether a link matters based on its appearance or position. The presence of data-gtm-click explicitly identifies the element as something that should be measured.
Establishing a Naming Convention
The data attribute is only useful if its values follow a predictable structure.
I created the following naming convention:
<section>_<element>_<position>Examples include:
hero_cta_primary
hero_cta_secondary
logobar_cta_primary
platform_header_cta_primary
platform_header_cta_secondary
buyer_network_cta_primary
why_billtrust_cta_primary
reviews_cta_primary
resources_cta_primary
demo_cta_primary
More specific product interactions can extend that structure:
platform_cash_engine_invoicing_cta_primary
platform_cash_engine_payments_cta_primary
platform_cash_accelerator_credit_cta_primary
platform_cash_accelerator_collections_cta_primary
platform_cash_accelerator_cashapp_cta_primary
This naming approach provides several benefits:
- Values are human-readable in GA4
- Similar components are grouped naturally
- Primary and secondary actions are distinguishable
- Reporting does not depend on visible copy
- New pages can follow the same framework
- Analysts can understand an interaction without inspecting the webpage
It also improves data governance.
Instead of allowing each page or campaign to invent its own analytics terminology, every tracked interaction follows the same event schema.
Configuring the GTM Built-In Variables
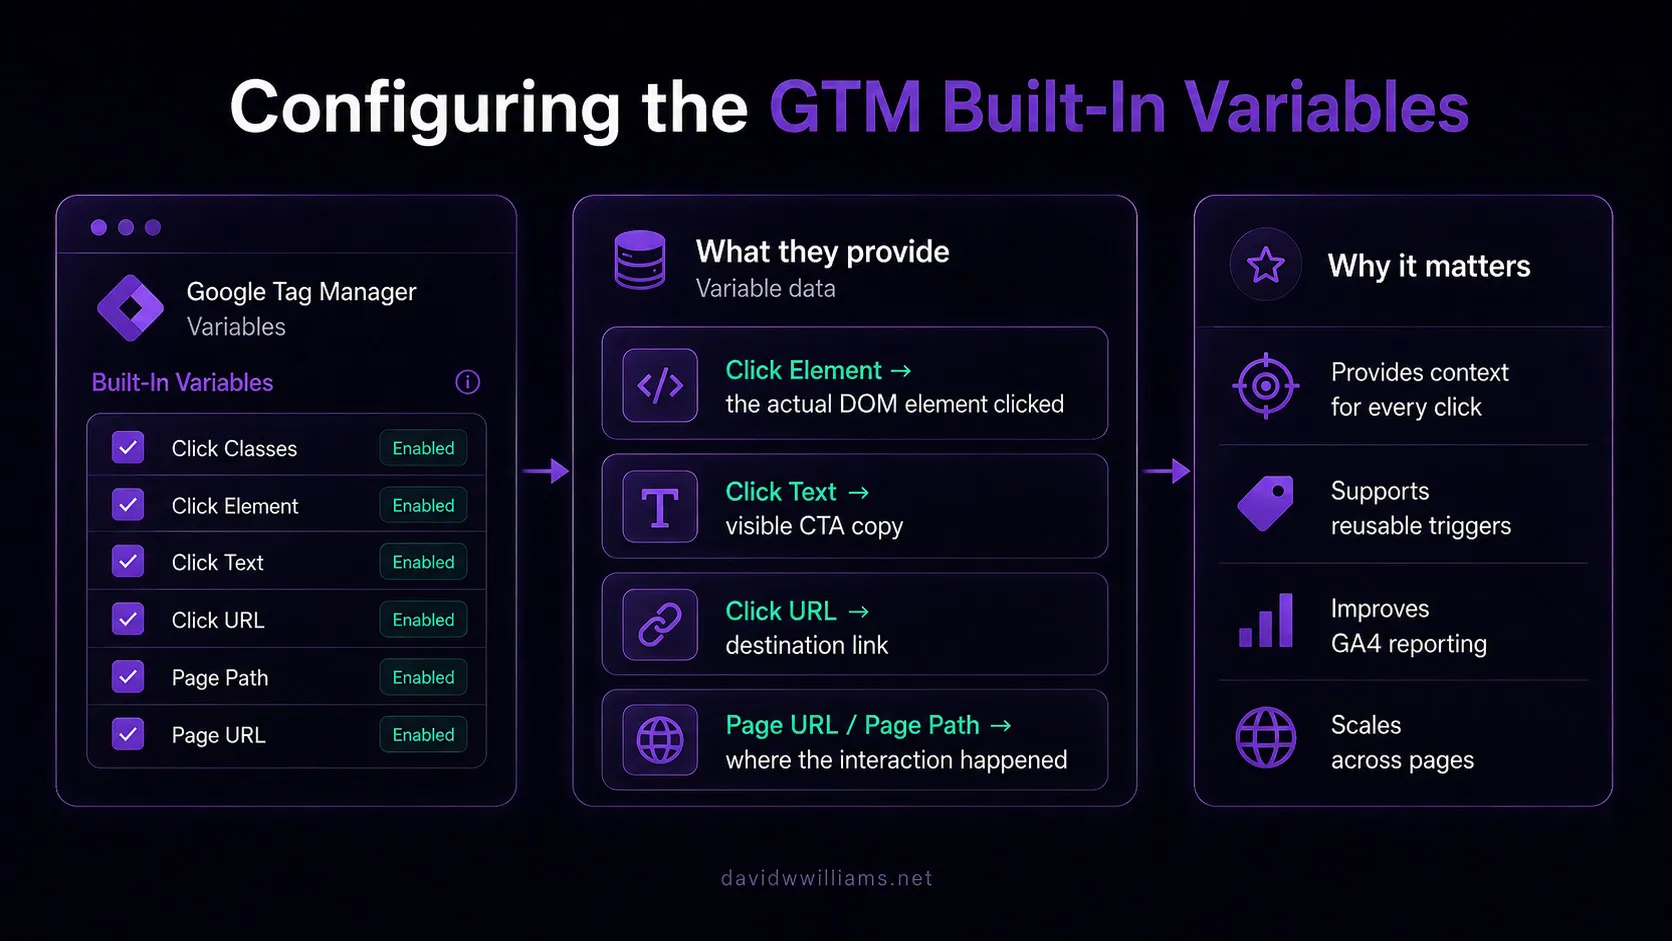
Before creating the tracking logic, I enabled the following built-in variables in Google Tag Manager:
Click Classes
Click Element
Click Text
Click URL
Page Path
Page URL
These variables provide information about the clicked element and the page where the interaction occurred.
The most important variable for this implementation is Click Element, because it provides the actual DOM element that initiated the click.
Reading the Data Attribute With JavaScript
A visitor does not always click directly on the <a> element.
A CTA might contain nested markup such as:
<a href="/accounts-receivable-platform" data-gtm-click="platform_header_cta_primary">
  <span>Explore the Platform</span>
  <svg aria-hidden="true"></svg>
</a>
The user may click the text, icon, or another nested element.
In those cases, the GTM Click Element may represent the child element rather than the parent link containing data-gtm-click.
To account for this, I created a Custom JavaScript variable named:
JS | data-gtm-clickThe variable uses the following code:
function() {
  var el = {{Click Element}};

  while (el) {
    if (el.getAttribute && el.getAttribute('data-gtm-click')) {
      return el.getAttribute('data-gtm-click');
    }

    el = el.parentElement;
  }

  return undefined;
}
The function starts with the clicked element and moves upward through its parent elements.
At each level, it checks for the data-gtm-click attribute.
When the attribute is found, the variable returns its value:
platform_header_cta_primaryIf neither the clicked element nor any of its parents contains the attribute, the variable returns undefined.
This makes the tracking resilient to nested spans, icons, SVG elements, and other presentational markup inside a CTA.
Creating the Reusable Click Trigger
I created a trigger named:
Click | GTM ButtonsThe trigger uses the following configuration:
Trigger type: Click – Just Links
Fire on: Some Link Clicks
Condition: JS | data-gtm-click matches RegEx .+
The regular expression:
.+requires the variable to contain at least one character.
Because the Custom JavaScript variable only returns a value when it finds data-gtm-click, the trigger fires exclusively for intentionally tracked links.
This avoids maintaining a long list of page paths, CSS classes, button labels, or individual selectors.
One trigger can support the homepage, platform pages, product pages, resource pages, and future templates.
A Note About Real Button Elements
The GTM Just Links trigger is designed for HTML <a> elements.
If an implementation also needs to track native <button> elements that are not links, I would either:
- Create an additional Click – All Elements trigger using the same variable condition
- Use a single All Elements trigger after carefully validating that it does not create duplicate events
For my initial implementation, the tracked calls to action functioned as links, so the Just Links trigger was the appropriate choice.
Sending the Event to GA4
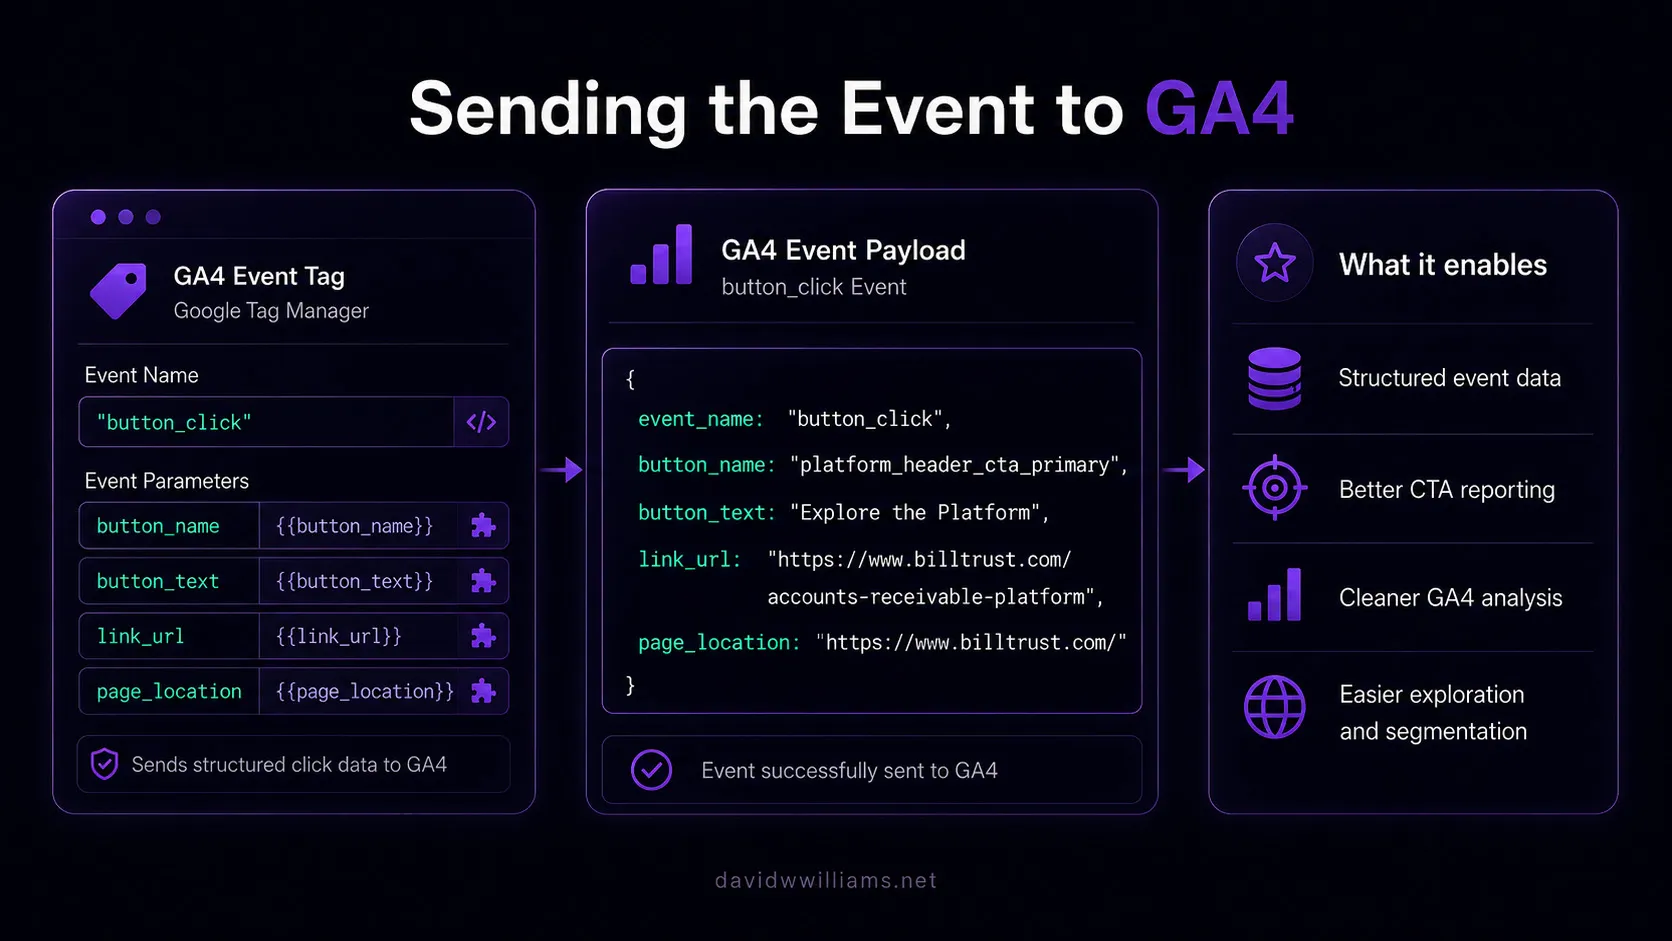
I created a GA4 Event tag named:
Click | GTM ButtonsThe tag sends the following custom event:
button_clickI intentionally used a descriptive custom event rather than relying only on GA4’s automatically collected click event.
GA4 Enhanced Measurement can automatically collect outbound link clicks, but this implementation measures intentional CTA engagement across internal and external destinations.
The custom event makes that distinction clear.
I configured the following event parameters:
| Event parameter | GTM value |
|---|---|
button_name | {{JS | data-gtm-click}} |
button_text | {{Click Text}} |
link_url | {{Click URL}} |
page_location | {{Page URL}} |
A completed event might contain:
event_name = button_click
button_name = platform_header_cta_primary
button_text = Explore the Platform
link_url = https://www.billtrust.com/accounts-receivable-platform
page_location = https://www.billtrust.com/
Each parameter answers a different question:
button_nameidentifies the CTA’s semantic placementbutton_textcaptures the visible copy at the time of the clicklink_urlidentifies the destinationpage_locationidentifies the source page
Together, these parameters provide significantly more context than an event name alone.
Why I Collect Both Button Name and Button Text
At first glance, button_name and button_text may appear redundant.
They serve different purposes.
The button_name value is the stable reporting identifier:
platform_header_cta_primaryThe button_text value preserves the visitor-facing copy:
Explore the PlatformIf the content team later changes the CTA to:
Discover the Platformthe stable button name allows me to analyze the placement continuously while the button text documents the copy variation.
This creates opportunities to evaluate:
- CTA copy changes
- Primary versus secondary placement
- Engagement before and after redesigns
- Differences between translated labels
- A/B test variants
- Conversion performance by component
The semantic identifier provides continuity, while the visible text provides context.
Registering the Parameters in GA4
After publishing the implementation, I could see the button_click event arriving in GA4.
However, custom parameters do not automatically become available as dimensions throughout standard reports and Explorations.
To report on the custom categorical values, I created event-scoped custom dimensions in:
GA4 Admin
→ Data display
→ Custom definitions
→ Create custom dimension
I registered the following dimensions:
| Dimension name | Scope | Event parameter |
|---|---|---|
| Button Name | Event | button_name |
| Button Text | Event | button_text |
I did not create additional custom definitions for page_location or link_url because GA4 already provides predefined Page location and Link URL dimensions.
Creating custom definitions only when necessary helps preserve the available custom-dimension quota and avoids duplicating dimensions GA4 already supports.
Google provides additional guidance in its documentation for setting up event parameters and creating event-scoped custom dimensions.
Validating the Implementation
I tested the implementation in multiple layers before publishing the GTM container.
1. Inspecting the HTML
I first confirmed that every intended link contained a valid and correctly formatted attribute:
data-gtm-click="platform_header_cta_primary"This caught missing attributes, naming inconsistencies, and accidental duplicate identifiers.
2. Testing in GTM Preview Mode
In Google Tag Manager Preview mode, I clicked each tracked CTA and verified that:
- A Link Click event appeared
- The
JS | data-gtm-clickvariable returned the expected value - The click trigger evaluated to true
- The GA4 event tag fired once
- Click Text and Click URL contained the expected values
- Unmarked links did not fire the tag
3. Reviewing the GA4 Event Payload
For each click, I confirmed the event contained values such as:
button_name = platform_header_cta_primary
button_text = Explore the Platform
link_url = https://www.billtrust.com/accounts-receivable-platform
page_location = https://www.billtrust.com/
4. Checking GA4 DebugView
I then used GA4 DebugView to confirm that the event and its parameters reached the correct GA4 property.
DebugView is especially useful during implementation because it exposes incoming parameters before they become available in processed reports.
5. Validating Reporting Dimensions
After creating the custom definitions and allowing GA4 time to process new data, I confirmed that Button Name and Button Text were available in Explorations.
It is important to create these definitions early because custom-dimension reporting is generally prospective rather than retroactive.
Building a GA4 Exploration
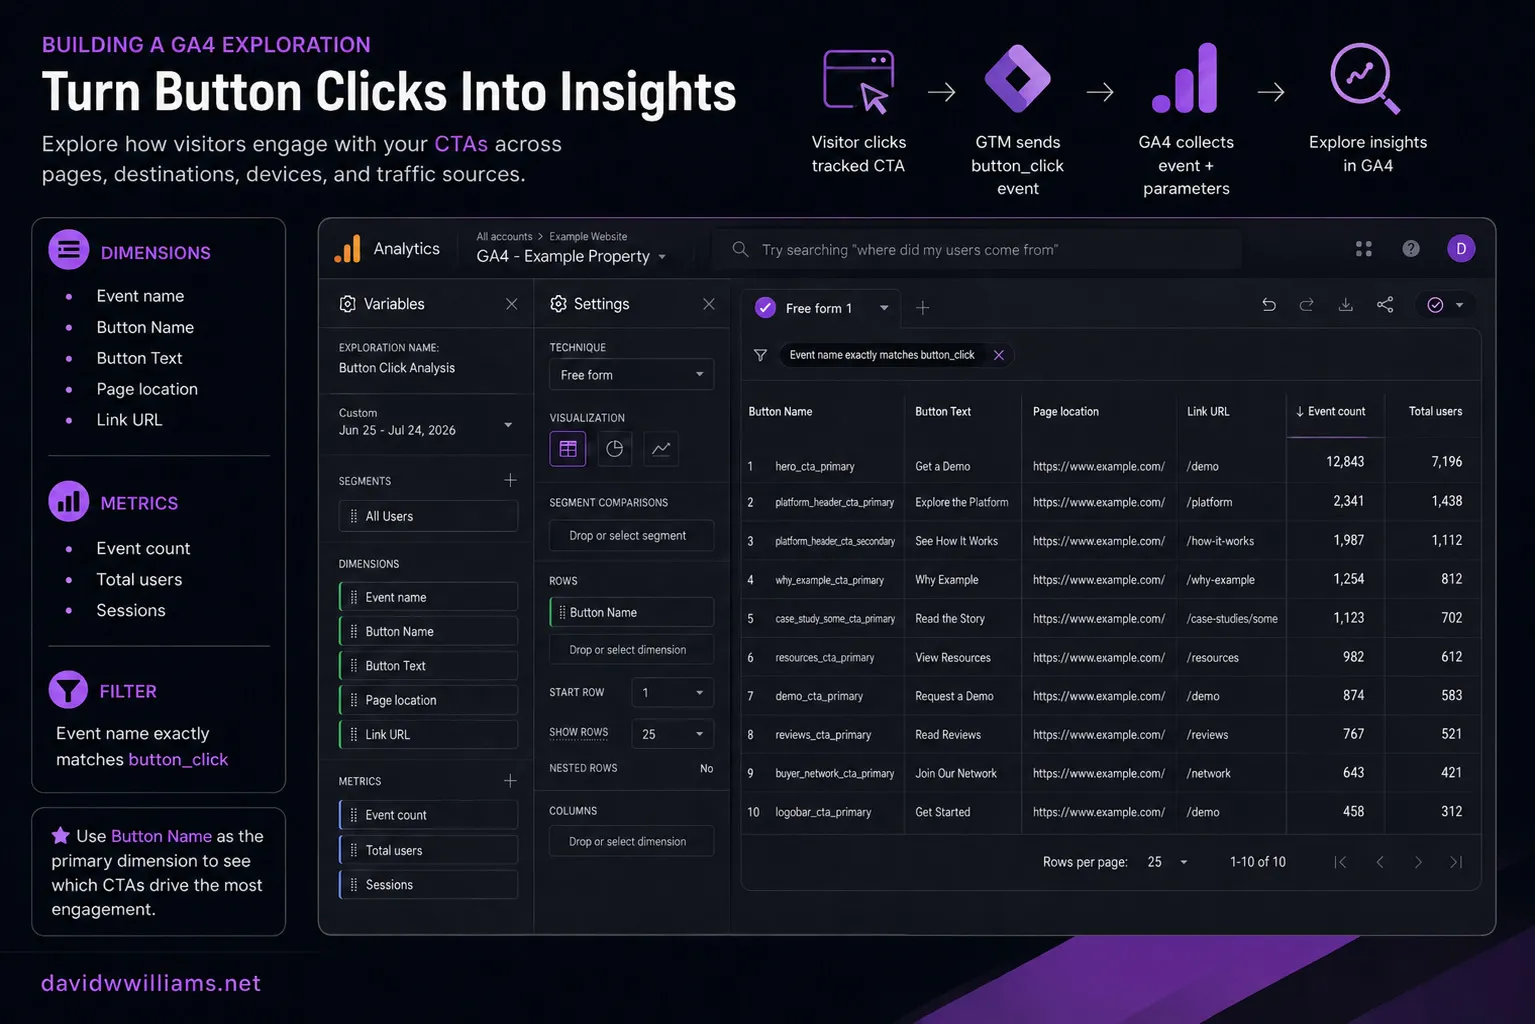
Once the custom dimensions became available, I created a Free Form Exploration using:
Dimensions
Event name
Button Name
Button Text
Page location
Link URL
Metrics
Event count
Total users
Sessions
Filter
Event name exactly matches button_clickA basic report can use:
Rows: Button Name
Values: Event count
This immediately shows which tracked calls to action receive the most clicks.
Additional breakdowns can answer more specific questions:
Button Name + Page locationWhich placements perform best on each page?
Button Name + Button TextDid copy changes affect engagement?
Button Name + Link URLWhich destinations attract the most interest?
Button Name + Session source / mediumDo paid, organic, direct, and referral visitors engage with different CTAs?
Button Name + Device categoryDoes CTA engagement differ between desktop and mobile users?
The value of the implementation is not merely that it counts clicks.
It creates structured interaction data that can be combined with acquisition, content, device, geography, and conversion dimensions.
Keeping Button Clicks Separate From Key Events
Not every measurable interaction should become a GA4 Key Event.
A CTA click indicates engagement and intent, but it does not necessarily represent a completed business outcome.
For this reason, I keep button_click as a secondary engagement event rather than marking every CTA interaction as a Key Event.
True lead-generation actions—such as successful Contact Sales or gated-content form submissions—remain the primary conversion signals.
This separation keeps executive reporting clean and prevents high-volume click activity from obscuring actual lead-generation performance.
Button clicks can still contribute valuable context around the conversion path:
Landing page
→ CTA click
→ Product page
→ Form interaction
→ Successful submission
The event helps explain how users move toward conversion without redefining every step as a conversion itself.
Why This Architecture Scales
The biggest advantage of this implementation is that tracking new links generally does not require another GTM release.
Once the tag, trigger, and variable are published, a developer or content editor can add:
data-gtm-click="new_section_cta_primary"to a new CTA.
The existing GTM framework automatically:
- Detects the attribute
- Extracts its value
- Fires the
button_clickevent - Sends the standard event parameters
- Makes the interaction available for GA4 reporting
This reduces:
- Duplicate GTM tags
- Page-specific trigger logic
- Reliance on fragile CSS selectors
- Analytics implementation time
- Inconsistent event naming
- Container maintenance overhead
It also creates a clearer division of responsibilities.
The webpage defines what the interaction represents.
Google Tag Manager defines how it is collected.
Google Analytics defines how it is reported and analyzed.
Governance Considerations
A scalable tracking framework still requires governance.
Without documentation, data attributes can become inconsistent over time.
I would maintain a simple tracking specification containing:
- The approved naming convention
- Existing button identifiers
- Associated page or template
- CTA purpose
- Event name
- Supported parameters
- Implementation status
- Validation status
I would also establish several rules:
- Use lowercase snake case
- Avoid visible button copy in the identifier
- Describe placement and purpose
- Use
primaryandsecondaryconsistently - Do not reuse an identifier for unrelated components
- Update documentation when adding new tracked elements
- Validate attributes before publishing a page
- Do not include personally identifiable information in parameter values
These controls become increasingly important as more developers, marketers, and content editors contribute to the website.
Future Opportunities
Once enough data has accumulated, this framework can support more advanced analysis.
CTA Performance by Page Template
I can compare engagement across:
- Homepage sections
- Platform pages
- Product pages
- Industry pages
- Resource pages
- Campaign landing pages
Primary Versus Secondary Actions
The naming convention makes it easy to compare:
hero_cta_primary
hero_cta_secondary
This can help determine whether the page hierarchy aligns with actual visitor behavior.
CTA Click-to-Conversion Analysis
By combining button clicks with lead-generation events, I can study which interactions are most frequently associated with successful form submissions.
Content and Design Experiments
Button Text can help document copy variants, while Button Name provides a consistent placement identifier across experiments.
Automated Quality Assurance
Because the implementation uses a standardized HTML attribute, automated tests could eventually scan important pages for:
- Missing values
- Duplicate identifiers
- Invalid naming patterns
- Tracked links without destinations
- Values that do not follow the approved convention
This would turn analytics validation into part of the broader website quality-assurance process.
Technical Takeaways
This implementation reinforced several principles I have learned while building enterprise analytics systems.
1. Analytics Should Be Intentional
A dedicated data attribute is clearer and more durable than trying to infer business meaning from styling classes or visible text.
2. Event Names Need Supporting Context
An event such as button_click becomes useful only when paired with parameters that describe the element, placement, page, and destination.
3. Stable Identifiers Matter
Visible copy and URLs change. A semantic analytics identifier creates continuity across redesigns and content updates.
4. Data Collection and Reporting Are Separate Steps
Successfully sending a custom parameter does not automatically make it available in every GA4 report. Custom parameters must be registered appropriately for reporting.
5. Governance Determines Long-Term Value
A technically correct implementation can still become difficult to use if naming conventions and ownership are not documented.
6. One Reusable Framework Is Better Than Dozens of Exceptions
Centralizing the logic in one variable, trigger, and event tag makes the GTM container easier to maintain and the resulting data easier to trust.
Final Thoughts
Tracking a button click is simple.
Building a button-click tracking system that remains reliable across hundreds of components, changing content, multiple templates, and an evolving enterprise website requires more deliberate architecture.
By combining semantic HTML data attributes, a DOM-aware JavaScript variable, a reusable GTM trigger, and structured GA4 event parameters, I created a framework that is:
- Scalable
- Maintainable
- Easy to validate
- Independent of visual styling
- Useful for both technical and marketing teams
- Ready for deeper conversion analysis
Most importantly, the implementation changes the question from:
“How many clicks did this URL receive?”
to:
“Which specific page elements are helping visitors discover products, engage with content, and move toward conversion?”
That additional context is what transforms basic click tracking into a meaningful analytics system.